


Set Drive Roller Tightness
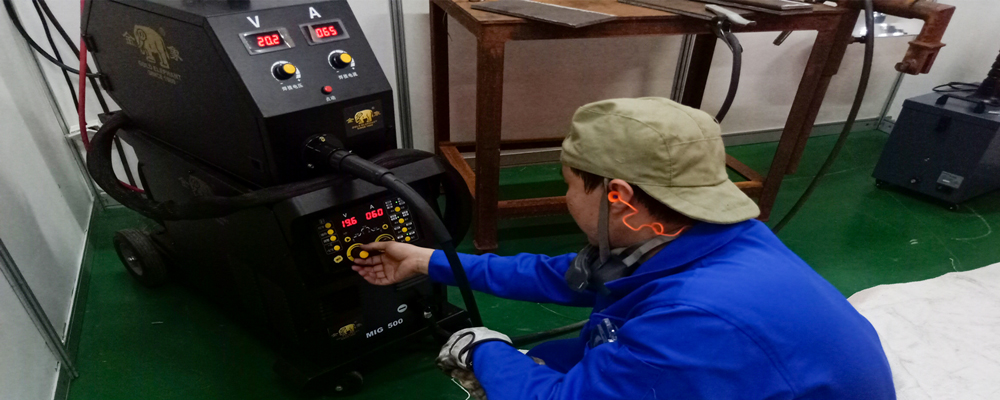
This is probably the most important step in the entire setup process. Experts recommend placing the wire at a slight angle 1 inch from the surface of the insulating material. Then, set the roller tightness to a minimum. Press the switch on the torch to observe its operation - it should slide when the wire touches the surface of the insulation. From that point on, tighten the tightness until the wire stops sliding.
Again, be aware that too tight will cause the wire to break. This means that the wire stays in the welding torch, welding machine and the wire drive roller is still rotating. The final result is that the wire breaks after running out of the roller, or the back pressure causes the welding wire to become a mess, including the guiding liner, the welding gun liner and the like. Keep in mind that when you set the wheel tightness as described above, press the torch switch and the wire is hot, so always wear good quality welding gloves.
In the first step, the fixture for welding should be securely clamped welding machine in areas where the workpiece is not painted and contaminated. To clean the workpiece, use a degreasing solvent to remove all grease. Also ensure that the surface of the workpiece is dry before welding. Also, do not weld in the presence of flammable materials, such as solvents or paint containers. In the second step, the surface oxide of the aluminum is cleaned with a clean stainless steel wire brush.
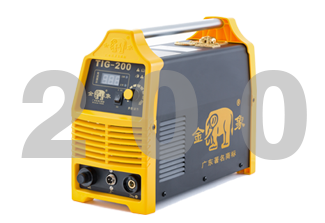
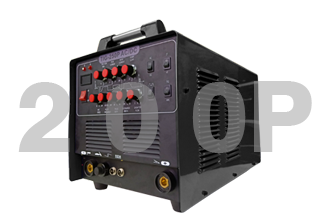
Related Products
Contact Us
Please feel free to let us know your demand information, we will contact you as soon as possible, looking forward to cooperate with you!